Monday, November 17, 2014

Sketches


I found a fantastic sketch site that I wanted to share today - Freshly Made Sketches.  This site has really quick and easy cards great for weekend inspiration.  I'm still stash busting and am now focusing on all the wonderful 6x6 paper pads I've accumulated over the years.  These sketches are making it really easy to do that.  

The Christmas card above is made with a BoBunny paper pad from last year I think.  

And this card was made with a paper pad from Stampin' Up.  I did a variety of sentiments from Happy Birthday to Thinking of You and a couple of sympathy cards.


I've been making 8 cards at a time which seems to be a perfect amount to take advantage of mass production without getting too board.

Hope you had a great weekend and have a great week ahead!


Monday, November 3, 2014

A New Project


Hi Gal Pals,

Back from Jacksonville.  Had a good time last week with Mom & Dad and the rest of the family.  Weather was spectacular!  So thankful to have the time with them.

And speaking of "thankful", I wanted to share a new project I'm doing with my mother this month - "30 Day's of Thankful".  It's based off something I found on CathyZielske's blog although there are lots of other papercrafters doing similar type things for November and Thanksgiving.  All in an effort to remember the joy of this month and the Thanksgiving holiday and not let it get lost in the big leap from Halloween straight to Christmas.  Plus after having been a little down in the dumps a few weeks ago, I was wanting to revive my daily gratitude practice to get me back on track.

So I downloaded the digital kit and was going to do the 4x4 mini album but then in talking with Mom and realizing we needed a better way to share our gratitude items long distance I decided to set up a new blog for the project.  I called it Cross Country Gratitude.  Click here to check it out.  We're only on Day 2 but already it's been a lot of fun and others in the family are joining in.

Hope you have a good day at work today.  With the Election Day holiday tomorrow it's going to seem like a Friday.  Now that's something to be grateful for!!!

Tuesday, October 14, 2014

It's Almost That Time of the Year Again


I was rearranging my Pinterest boards the other night and realized it's almost that time of the year when I need to pick out a few designs and get busy making Christmas cards.  I don't think I ever posted this card from last year (or was it the year before? - geez! time flies).  I loved how it turned out with the glittery snow on the roofs and the pine branches and gem berries.

Have you thought about what cards you're making this year?  Here's my Christmas board on Pinterest.  It's got a few new posts of things I've found recently.  And here's a really cool sketch challenge blog that I stumbled on a few weeks ago that has really nice clean and simple sketches with tons of samples.  

Enjoy!

Monday, October 13, 2014

Amazing!


Well Gal Pals, I took the plunge and bought the Silhouette Cameo!  I have to tell you it's pretty amazing!  It cuts "like butter" compared to the Cricut.  I was skeptical when I heard it would cut any font on your computer.  But it really does!  Here's a Creating Keepsake font called "Voluptuous" and how it looks in a Word document:


And here's how it looks after cutting it on the Silhouette:


Amazing! Huh?!!  Can't wait for another rainy weekend to play some more.


Thursday, October 9, 2014

Val's Alcohol Ink Tiles


What a perfect Fall day to post this picture of one of the alcohol ink tiles Val made in a recent Memory Lane class.  Isn't it bea-u-ti-ful!!!!

She shared her work during our get together last month.  It sounded like a fantastic class.  They took just regular white ceramic square tiles from Home Depot and used alcohol inks and techniques to create these different looks.  Aren't they fantastic?!


Sure do hope they offer that class again.


Wednesday, October 8, 2014

With Sew Much Love


As a contrast to yesterday's "beginners" page, here's a picture of my latest scrapbook page.  I think I'm starting to find my style.  Much like my cardmaking, very clean and simple, very linear.  The focus is on the story the pictures and journaling tell with splashes of fun with color and patterned paper.

This page is a tribute to my Mom and her amazing sewing talents and the amazing energy and love she had for raising her family.  

Although I don't really like my handwriting, I want to do a few pages that have my own handwriting on them because it feels much more personal.  I found that I loved the handwriting in my grandmother's scrapbook.  Somehow it made me feel like I knew her better.  So hopefully those that read my scrapbooks will feel the same.  But I find I have so much I want to say in the story that it doesn't always work to include the journaling on the page itself.  So the 6x12 pages are really working out nicely.


Here's a shot of just the journaling page.  I tried to include some dates in the descriptions of the clothes to help mark the times.  Since my old photos are dated I had to go to the web to find the general dates for "ponchos", "smock tops" and "bell bottoms".  Now that was a fun ride down memory lane!


Tuesday, October 7, 2014

The Beginning


I've been going back and photographing some of the scrapbook pages I've made so I can get them posted here as sort of a backup.  This one really tickled me.  It was my very first scrapbook page.  Well sort of. . . .

Even though I kept a scrapbook in high school, it wasn't quite the same as the scrapbooking we know today with all the beautiful patterned papers, sketches, embellishments, etc.  

My sister-in-law decided to be a rep for Creative Memories for a little while and I bought a bunch of supplies from her.  An 8.5 x 11 album, cardstock diecuts and stickers.  

I have to tell you when I look at this page it just makes me giggle with how goofy it looks compared to the scrapbook pages I'm making now.  

Because I switched to 12x12 scrapbooks a few years ago for my "event" and travel scrapbooking, I mounted the original page on some larger cardstock with yellow border trimming.  It wouldn't be a Sandy page if it didn't have yellow on it somewhere - she's all about the yellow :-)

Even though I'm not in love with the page, I love the subject matter.  It was Sandy's birthday and Thoryn and Abby came over to the house to celebrate.  We had such a wonderful cozy February afternoon.  Here's a couple of close-ups which helps make the journaling a little more readable when you click on the image:


It will be interesting as I post other scrapbook pages to see how my style has evolved.  Sometimes it seems like I'm still a beginner but when I look at this page as the beginning and compare it to my latest page (which I'll post tomorrow) I can see I really have grown.


Monday, October 6, 2014

Embossed Border


Hi Gal Pals!

I was catching up on my Gina K Designs videos and saw this one and wanted to share.  As part of my stash busting this year I've been looking for ways to use all my embossing folders.  I thought this technique was really cool.  And I absolutely love the simplicity of this card.

Hope you had a good weekend and today is a good start to a good week.  


Thursday, September 25, 2014

MDS Sea Shells


You can't really tell it from this picture but this was a one-layer card where I just "print screened" the image from My Digital Studio ("By the Sea Shore" stamp set) and printed it on the front of a card.  The print screen software I use - Gadwin - has a setting where you can create a shadow around the image.  It really really made this card look like the image panel was popped up on the card base. Talk about quick and easy!

Wednesday, September 24, 2014

Scrap Thank You


This is a quick and easy "stash busting" card made with my inchie punch and some of my scraps.  Love how it turned out.  May do one in every color group and even some with my seasonal scraps.  The sentiment stamp is from the Stampin Up "Perfectly Penned" stamp set.

Tuesday, September 23, 2014

Hello Cricut


I haven't been doing the weekly family newsletters in quite awhile but wanted to have a few "Hello" cards just in case I felt the urge.  So I was playing around one day I dusted off the Cricut machine and logged in to the Cricut Craft Room.  I searched for the word "Hello" and found this really cute image.  I wanted to keep the card clean and simple and flat so I added some Stickles to the butterfly for a little interest and then hold-punched some "dots" and Stickled those as a substitute for brads.  The paper was part of a Stampin Up paper pack.  The word background seemed to fit with the concept of a "Hello" card.  Not sure I totally love it but I think the family will - especially if it has a nice long letter included inside :-)

Monday, September 22, 2014

Happy Accident


When I was cleaning out all my ribbon bins I found this obnoxiously wide ribbon that I wasn't sure I wanted to keep.  Val you may remember the ribbon from the "pine cone" project you and I did one Saturday a long, long time ago.  But I got to playing around with a little trying to figure out what I could do with it and discovered it was wide enough to fit the face of an A2 card.  So I mounted it on a 4 x 5.25 card mat and then mounted that mat on a standard sized card and added a punched "Thank You" label.  I kind of like how it turned out and may just make a few more to serve as my holiday Thank You cards.

Tuesday, September 16, 2014

Organizing Scraps


I don't have a BEFORE picture so you'll have to trust me on this one.. . .I went from 2 big plastic filing boxes of scraps taking up one whole shelf in one of my cabinets down to this. . . .


I decided to pick some standard sizes for scraps - ones that I find myself using alot - (1 inch strips, 2x2 and 3x3 squares, 3x4 and 4x6 mats/journaling blocks).  I then spent a good portion of my Spring cutting the 2 boxes of all my scraps down to those sizes.  Anything that was smaller than that or couldn't be cut to one of those standard sizes was thrown away.  It's working out GREAT!

Here's a "scrap" card I made this weekend. . . .


I pulled out a very, very old Stampin' Up set - "Fun & Fast Notes" - all a part of my stash busting. . . . very fun set by the way. . .


. . .then I combined the pencilcolored image with some scraps - two sets of 2x2 pieces (the orange and grey), a circle cut from an orange 3x3 scrap and then a 3x4 yellow mat.  Kind of liked the design.  It may need a little bling or texture but because it's going in the mail to an old friend I'm going to keep it flat.

One last comment about the scrap system - it really makes for easy cleanup after a card or scrapbooking project.  I take the leftover paper and cut it down to one of the standard sizes and the rest goes into the trash.  The hoarder in me gets a little uncomfortable sometimes at not saving every morsel but I have to keep reminding myself. . ."it's just an 80 cent piece of paper Julie - it's OK to toss a little" :-)


Monday, September 15, 2014

Clear Stamp Organization


I wanted to share a few more pics of the organizing I've been doing in my craft room.  I think I finally found a solution that's going to work for me for my clear stamps.  I've adopted Jennifer McGuire's method of putting all the various sized clear stamp sets from all the different manufacturers in standard sized clear envelopes with standard labeling.  Here's a link to her video about her method.

I just love Jennifer McGuire's blog.  It's so technique focused and she does lots of clean and simple cards which fits my style.  And she's got the ultimate of craft rooms and has so many great organization tips.  I bought the label maker she recommends and have been using it all over my craft studio.  It's kind of funny. . . just seeing things labeled makes me feel more organized :-)

Here's a close-up of one of the sets.  Name of set and manufacturer at the top.  Depending on the size of the clear stamp or stamp set I sometimes have 2 in one envelope - one on each side of the white card insert.  And for the really large stamp sets I cut the acrylic sheet they came on in half so half the stamps in the set are on one side of the card insert and half on the other.  


And here's one of the 2 wicker baskets that they all fit it.  So far it's working out really well.  I can easily flip through them to see what I have and what I want to use.


During all the organization I did decide to have multiple storage solutions for my stamps.  
  • One for all my Stampin' Up
  • One for my Gina K Designs 
  • One for everything else - Hero Arts, Art Impressions, Inkadinkadoo, etc... 
You can see in the picture above the 2 binder cases sitting to the right of the basket.  These are old DayTimer storage binders that I'm repurposing to hold my Gina K stamps.  They fit her 6x8 stamp storage sheets just perfectly.


Again, I really like being able to easily flip through her sets to pick what I want to play with.


So there it is - stamps all nice and tidy.  Now the trick is finding ways to use them all and resisting the urge to buy any more! 


Thursday, September 11, 2014

Getting Organized


Hope everyone's Fall is getting off to a good start.  We couldn't have asked for any better weather this summer.  Mostly sunny days, none too terribly hot, with a few rainy days sandwiched in now and then.  Those rainy day made for some very fun time in the craft studio.

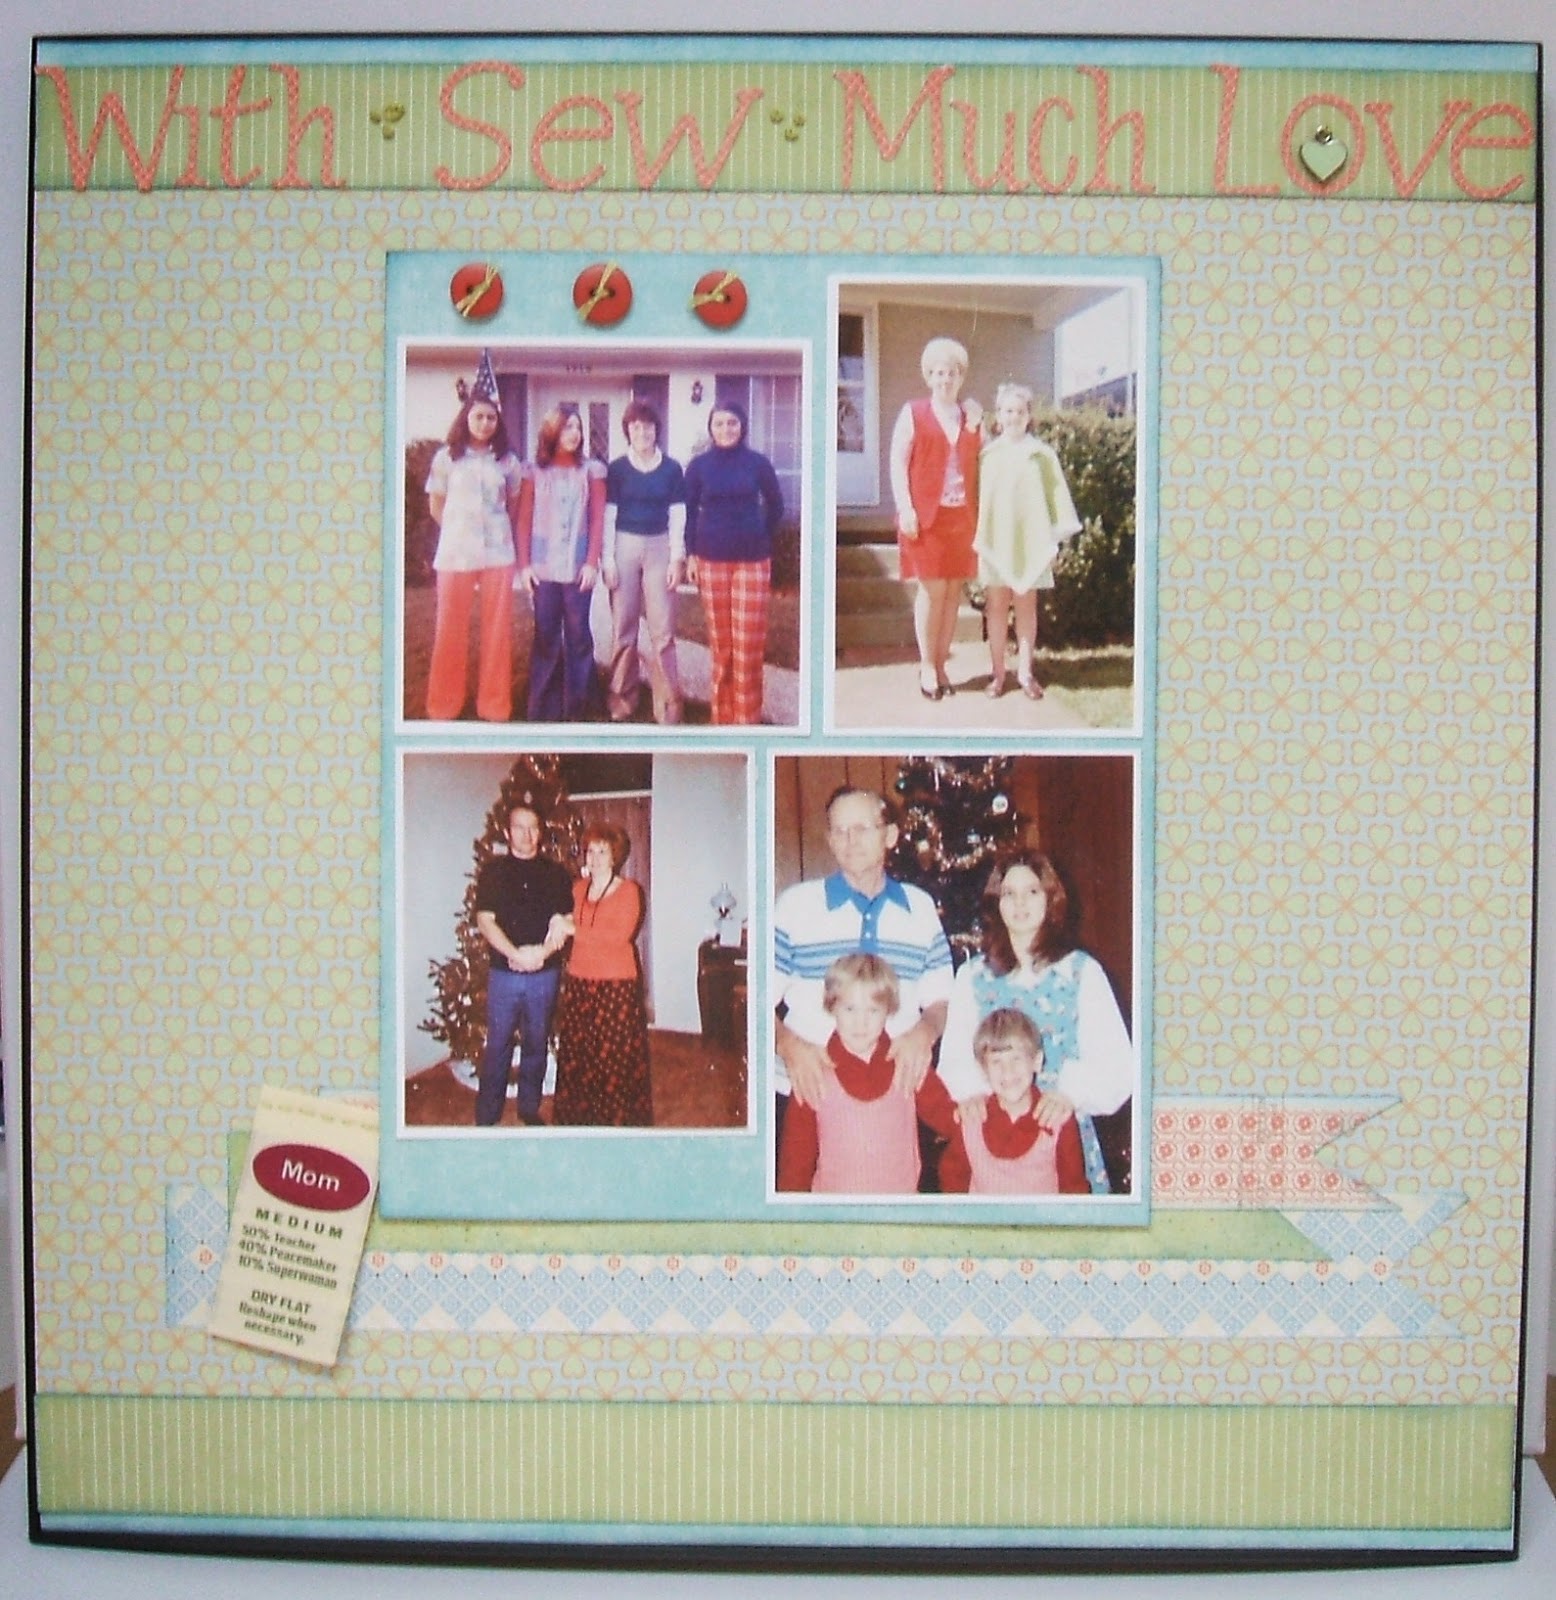
I've been scrapbooking some and made a few cards in recent weeks which I'll share next week but the biggest news was that I took another BIG step forward on the re-organization project.  

Since January I've been working through the 27 lessons in this FREE online class from scrapbook.com.  I really like the methodical way she approaches getting organized and there's tons of different suggestions and ideas for how to organize all the different types of craft supplies and tools - from paper to scraps to tools to sketches, etc.

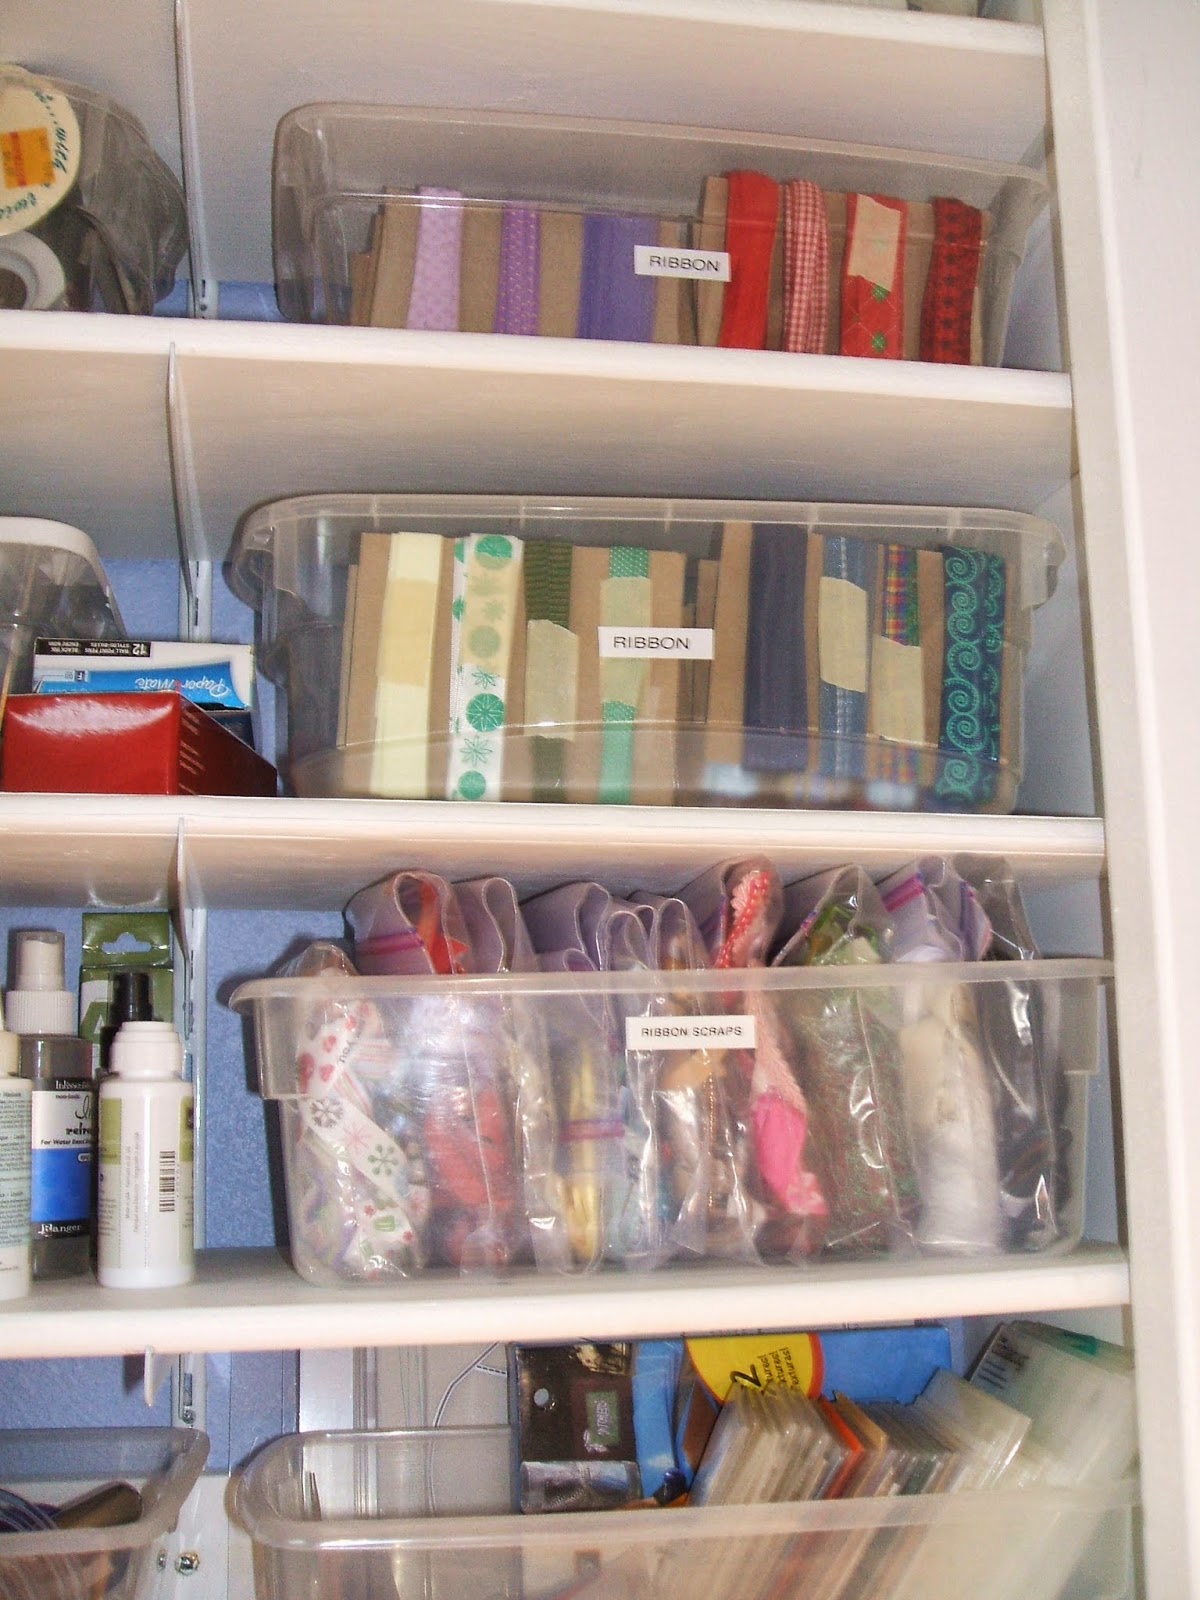
So I'm going to share a few pictures of the things I've done to purge and get better organized.  First up is the project from Labor Day weekend. . . . .ribbon

I had 4 plastic shoeboxes of spooled ribbon which because of the different sizes of the spools never really fit standing up the way I wanted them so they just became a jumbled mess.


So after doing a bunch of reading and Google searching and Pinterest browsing, I decided on a method that I think I'm going to like.  And best part about it is that it didn't require the purchase of any new storage solution!  Here's the new system. . . 


I took 4x5 pieces of chipboard (old cereal boxes) and depending on the width of the ribbon was able to get 3-4 spools of ribbon on each card.  I then filed the cards by color.  LOVE IT !!!

I was able to get all my spooled ribbon in 2 shoeboxes - downsized by 50%!  I still have 1 shoebox that holds all the wide ribbon which I mostly use for Christmas bows and gift wrap and 1 shoebox for ribbon scraps - all organized in baggies by the same color scheme.


Feels so nice to have a place for everything and everything in it's place.


Monday, August 25, 2014

6 Weeks to the Finish Line


Well it's been 6 weeks since the last Gal Pal post - the one where I foolishly boasted that I was going to finish a set of scrapbook pages that I had been working on since the winter.  Can't even remember now what the heck got in my way but I took advantage of the rainy Saturday to really get serious and get them done.

The topic was our 2006 trip to Palm Beach, Florida.  Allan was working on a project there and it was the very beginning of our romantic relationship.  I flew in for what turned out to be a very romantic weekend ;-)

The pages are very full and very busy - more so than I wanted them to be from a design perspective - but in some ways that's very reflective of the weekend.  We did a lot in just 2.5 days.  

I had a hard time putting these pages together.  They seemed so personal and I wasn't sure how best to tell the story.  The emotions and intimacy of that weekend made me feel a little vulnerable as I knew the pages would be in our Travel scrapbook album.  Earlier in the year I purchased the Romantic Scrapbooking Class from Paperclipping - which also hosts the weekly scrapbooking podcast I've been listening to.  It helped a lot to normalize those feelings and figure out how to move forward with telling our story.

I think now that I have this one behind me, the rest will follow a little more easily.

Here's a few close ups of each page and the 6x12 page insert I used to journal the story and store the ephemera from the trip.  I used lots of old paper scraps and embellishments so that felt really good.  I'm almost done with my reorganization project - another that's been 8 months in the making.  Hopefully I can get some of those pictures posted soon and share what I've been up to in the Coastal Craft Room :-)


Friday, July 11, 2014

Finish Line


Here's a little sneak peek of a scrapbook page I've been working on for some time now.  I'm determined I'm going to make it to the Finish Line and get 'er done this weekend!  Check back in on Monday to see how I did.

Looking forward to playing hooky this afternoon and going to Memory Lane for Betty's alcohol ink class.

And Val, really looking forward to our Melting Pot class tomorrow!  Are pot holders required?! :-)

Hope you have a good weekend.

P.S.  Good luck to all my friends who are running their first half-marathon in the Missoula Marathon on Sunday.  Crossing that Finish Line will feel great I'm sure!


Wednesday, July 9, 2014

Fun with Washi Tape


I have absolutely no idea how I stumbled on this blog with a fun idea for using washi tape but I just had to share it.

This idea is from this really cool book that just seems loaded with cool projects - all using washi tape!


Here's the link to it on Amazon where you can "Look Inside" at a bunch of pages with some really cool project ideas.  I may just have to put this on my Wish List.

Hope you have fun browsing!

Tuesday, July 8, 2014

Ready to Go


Remember during one of our "Show & Tell" sessions, the handmade craft carrier my Aunt Shirley gave me for Christmas?  Well here it is all ready to go.  I took a few of my half finished card projects and loaded them into the baggie sections with all the supplies I needed to finish the projects.


It looks a little overstuffed but it sure seems like it will be nice and convenient for those nights I want to grab a project and work in the living room or for an evening at the shop with my Gal Pals.  Love all the different size baggies.  Can't believe how many projects it holds.  Can't believe how many unfinished projects I have!! :-(


Monday, July 7, 2014

Lo-o-o-o-ng Weekend


Cricut Man was gone this weekend.  He's been in Denver bringing up the State of Colorado on their new administrative systems.  Can't begin to tell you how much I miss him.  I've discovered "Party-For-One" time is only fun when done in short bursts - not so much fun when it drags on for 2 weeks.  

But enough complaining!  I tried to fill up the long holiday weekend with catching up on things around the house and crafting.

Spent the 4th having some fun with my neighbor family.  Great ribs from the smoker and lots and lots of wonderful side dishes and desserts.  Made a really cute hostess gift for Marilyn - a patriotic inspired candy box full of M&M's.  Forgot to photograph it but here's another I made from all the leftover scraps for Cricut Man's desk.  Hope he likes it.  Notice on the 2nd pic that on one side I used accounting ledger paper just for him :-)


I wanted to put some ribbon trim around the box lid but didn't have any blue that was just the right color.  So Distress Ink to the rescue.  Rubbed a little Brushed Corduroy on a bright blue polka dot ribbon and presto-magic! I had navy blue.


Had just a few little scraps left and couldn't let them go to waste so here's another little 2x2 box just for me.  Nice and simple.


All in all a great way to pass the time on a husband-less Saturday night.  Hope your long weekend was a good one too.  Can't wait to here all about it.  Hopefully Wednesday night will work for catching up with the Gal Pals!  See you soon.